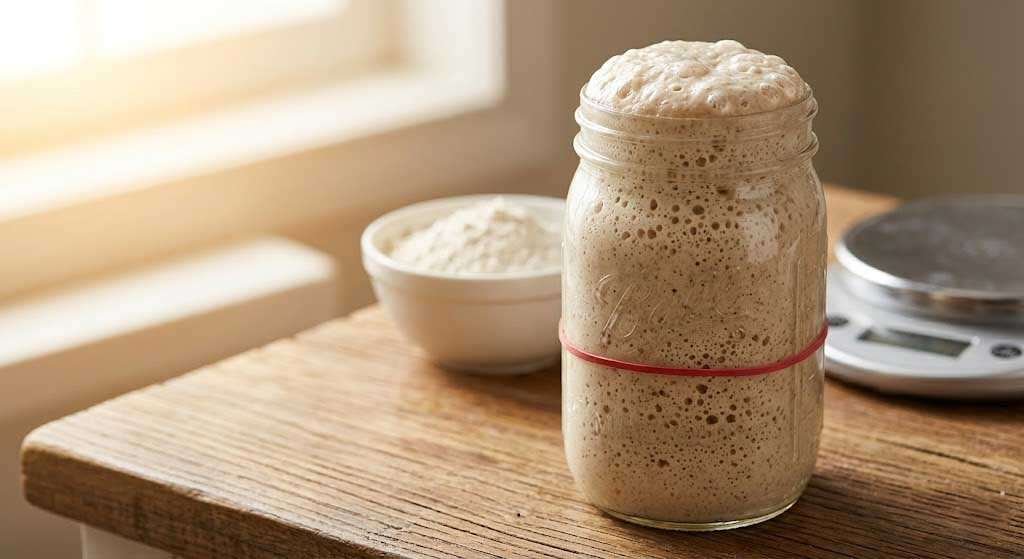
Flour. Water. Time. That is the entire ingredient list for creating a living sourdough culture from scratch — what bakers have called “The Mother” for centuries. No commercial yeast. No special equipment. Just a jar, a kitchen scale, and seven days of patience. What you are building is a thriving colony of wild yeast and beneficial bacteria that will leaven every loaf you bake from this point forward — and with proper care, it will outlive you.
This is the definitive day-by-day walkthrough for creating your first sourdough starter at home.
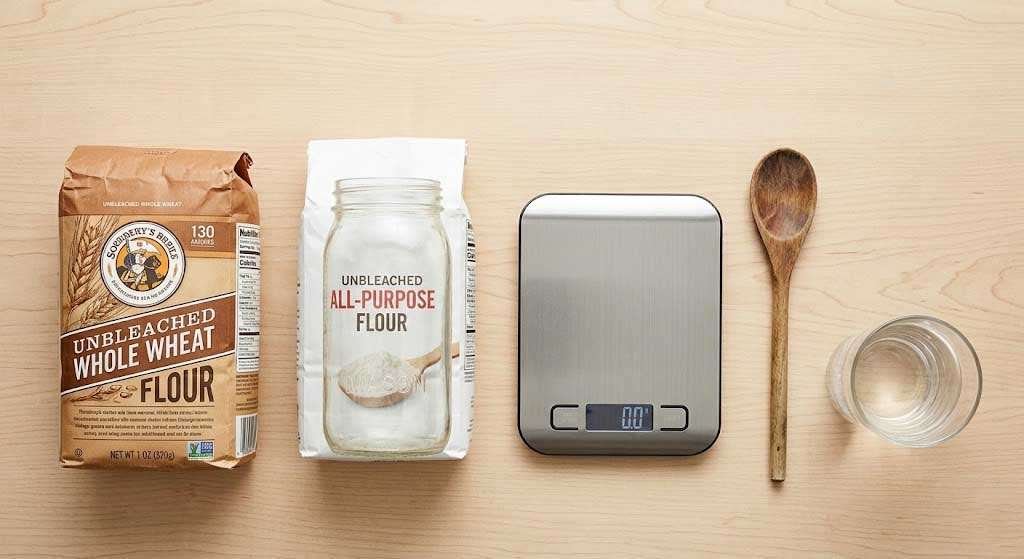
What You Need Before Day 1
A clean wide-mouth glass jar (a quart Mason jar works perfectly), a kitchen scale that measures in grams, unbleached whole wheat flour for the initial build, unbleached all-purpose flour for ongoing feedings, and filtered or dechlorinated water at room temperature. Chlorinated tap water can inhibit fermentation, so if your municipal water is treated, let it sit uncovered for an hour before using or run it through a basic carbon filter.
The Seven-Day Build
Day 1 — The Beginning. Combine 50 grams of whole wheat flour with 50 grams of room-temperature water in your jar. Stir vigorously until no dry flour remains. The mixture should have the consistency of thick pancake batter. Scrape down the sides, cover loosely with a cloth or loosely fitted lid (the culture needs airflow, not an airtight seal), and place it in a warm spot — ideally between 75°F and 80°F. A countertop away from drafts works well. Leave it undisturbed for 24 hours.
Day 2 — First Signs. You may see a few small bubbles forming on the surface or along the sides of the jar. You may not. Either is normal. Discard half the mixture (roughly 50 grams), then add 50 grams of all-purpose flour and 50 grams of water. Stir well. Cover and return to its warm spot. The switch from whole wheat to all-purpose flour is intentional — whole wheat jumpstarts fermentation with its higher enzyme activity, and all-purpose sustains it with a more stable food source going forward.
Day 3 — The Quiet Period. Activity may actually slow down today. This is the stage that discourages most beginners, but it is completely expected. The initial burst of activity on Day 2 was driven by leuconostoc bacteria — temporary residents that produce gas but cannot sustain a stable culture. They are now dying off, making room for the lactobacillus strains and wild yeast that will form your permanent ecosystem. Discard half and feed again: 50 grams all-purpose flour, 50 grams water.
Day 4 — Patience. Continue the same discard-and-feed cycle. You may notice a slightly sour or vinegary smell. This is acetic acid production, a sign that beneficial bacteria are establishing themselves. The smell will mellow as the culture matures. If you see no activity at all, move the jar to a warmer location or place it near (not on) your oven with the light on.
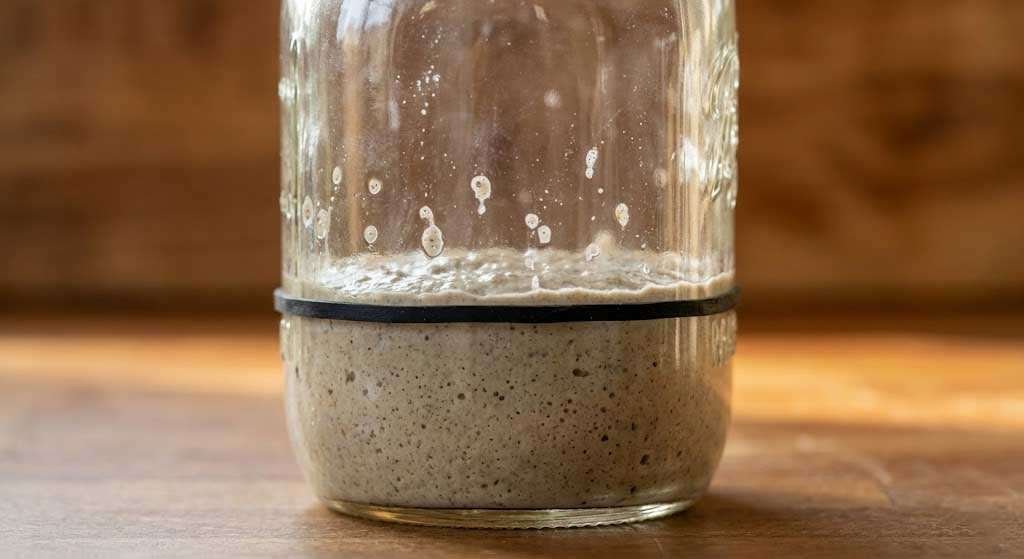
Day 5 — Momentum. Bubbles should begin reappearing with more consistency now, and the starter may begin to show a slight rise between feedings. The aroma should shift from sharp and vinegary toward something more pleasantly tangy and yeasty. Continue the discard-and-feed routine. Same ratios.
Day 6 — Building Strength. If the starter is showing reliable bubble activity and rising noticeably between feedings, switch to feeding it twice daily — every 12 hours instead of every 24. Same ratios each time: discard half, add 50 grams flour, 50 grams water. This accelerated feeding schedule strengthens the yeast population and pushes the culture toward peak performance.
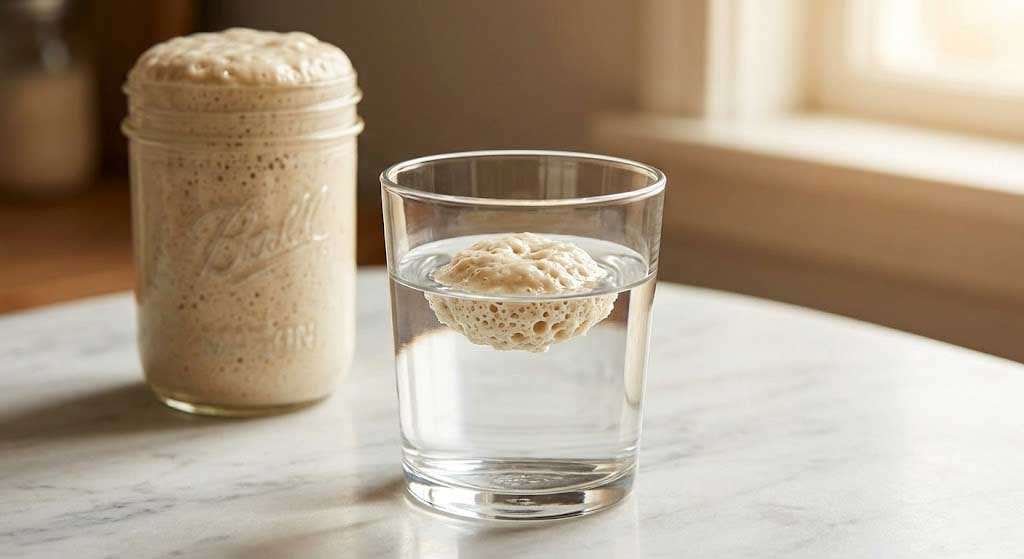
Day 7 — The Float Test. Your starter should now be doubling in size within 4 to 6 hours of a feeding, with a domed top full of bubbles and a pleasantly sour, yeasty aroma. To confirm readiness, drop a small spoonful into a glass of room-temperature water. If it floats, the culture has enough gas-producing strength to leaven bread. If it sinks, continue twice-daily feedings for another day or two.
Troubleshooting
A dark liquid forming on top is called “hooch” — it is alcohol produced when the starter is hungry. Simply stir it back in or pour it off and feed immediately. Pink or orange streaks or fuzzy mold mean contamination; discard everything, sanitize the jar, and start over. If your kitchen runs cool (below 70°F), fermentation will take longer — extend the timeline to 10 or even 14 days and consider finding a warmer microclimate in your home.
Keeping The Mother Alive
Once established, your starter needs regular feeding to stay healthy. If you bake frequently, keep it at room temperature and feed it daily. If you bake once a week or less, store it in the refrigerator and feed it once a week — or simply pull it out the night before you plan to bake, feed it, and let it reach peak activity on the counter before mixing your dough.
The jar, the flour, the water, the waiting — this is one of the oldest forms of food craft still practiced. Every great loaf starts here.