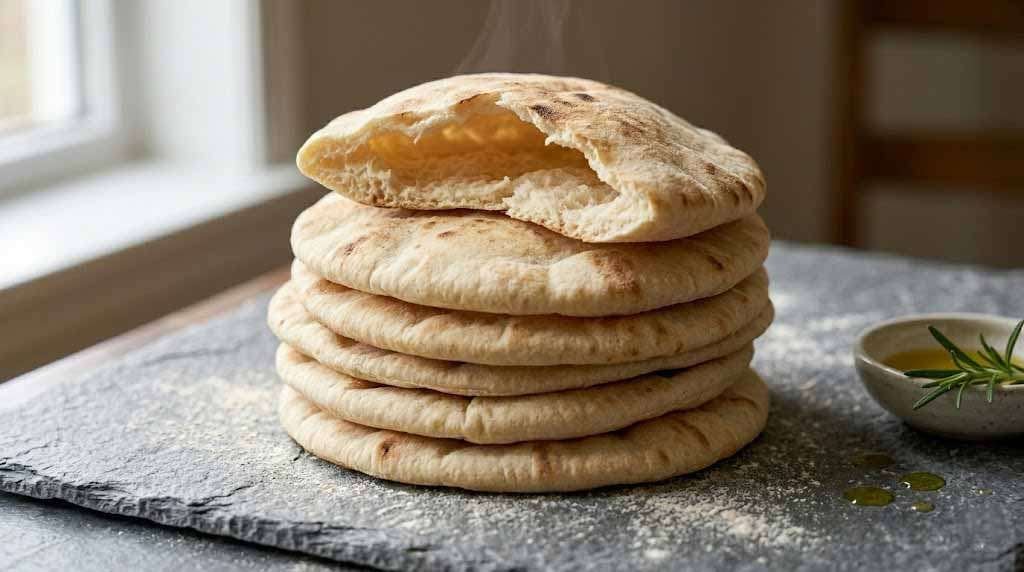
Forget the dry, brittle discs. Real pita should be pillowy, fragrant with olive oil, and contain that dramatic, magical pocket. Mastering this “puff” is the key. While a professional brick oven helps, we can replicate that extreme heat at home. The secret is simplicity: only a few excellent raw ingredients, exact technique, and blazing temperature. Let’s begin.
The Essential Components: Pure and Simple
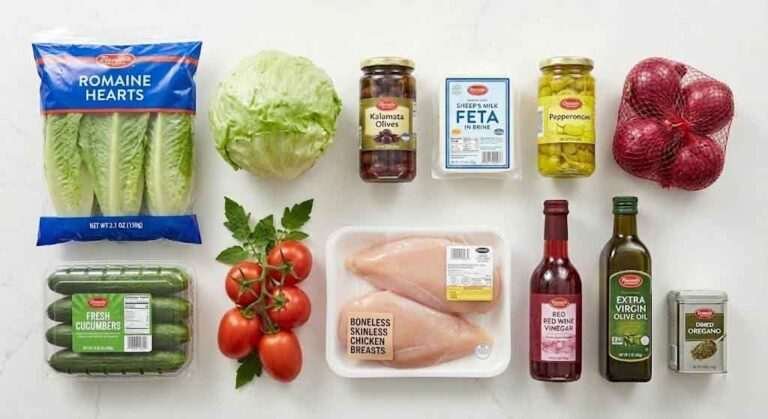
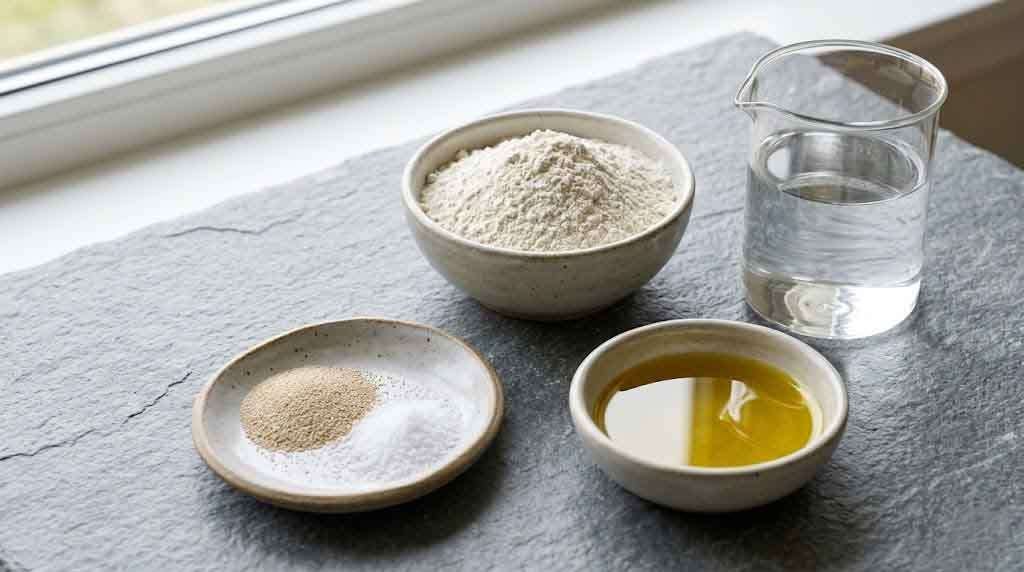
The foundation of great pita is high-quality ingredients. To ensure our visual standards remain consistent through all four culinary stages, we are photographing this entire process under natural, soft light streaming from the left, highlighting distinct textures and colors. The clean slate counter used throughout this process is our primary stage.
Our raw materials show exquisite detail: fine unbleached flour, active yeast granules, coarse sea salt, and golden, extra-virgin olive oil.
Ingredients: (Yields 6-8 pitas)
- Bread Flour: 3 ¼ cups (410g), unbleached and fine.
- Warm Water: 1 ¼ cups (300ml), strictly around 105°F (40°C) for yeast activation.
- Olive Oil: 2 tablespoons (30ml), golden, extra-virgin.
- Active Dry Yeast: 2 teaspoons (7g), granules visible and ready.
- Sea Salt: 1 ½ teaspoons (9g), fine.
Stage 1: The Active Knead (Developing Structure)
The first step is bringing the raw components together. We activate the yeast in the warm water with a pinch of the flour. Once bubbly and frothy, we add the olive oil, remaining flour, and salt.
This mix must be transformed from a sticky mass into a smooth, elastic dough. This manual process is captured below on a well-floured wooden surface (derived from the original cool light).
We want you to see the active folding, stretching, and interaction of the focused hands with the tacky dough. This stage is critical; we must develop the gluten network that will contain the explosive steam later. The texture contrasts sharply with the rustic wood.

Instructions (Stage 1):
- Activate Yeast: In a large bowl, whisk the warm water (from our ingredient list) with 1 teaspoon of the unbleached flour and all the yeast granules. Let stand for 10 minutes until frothy.
- Make Dough: Whisk in the olive oil (seen raw above) and the coarse sea salt. Gradually add the bread flour, using a wooden spoon to form a shaggy, cohesive dough.
- The Active Knead: Turn the dough onto a well-floured wooden surface (from our example). Knead for 8-10 minutes. The focused hands illustrated above show the exact folding and stretching motion. The dough is visibly smooth, elastic, and slightly tacky, developing its precise gluten structure. (Check for that specific matte finish).
Stage 2: Blazing Heat and The Perfect Puff (Baking)
Once the dough rests for 90 minutes and doubles, we divide it, roll each piece into a 6-inch (15cm) disc, and prepare for extreme temperature.
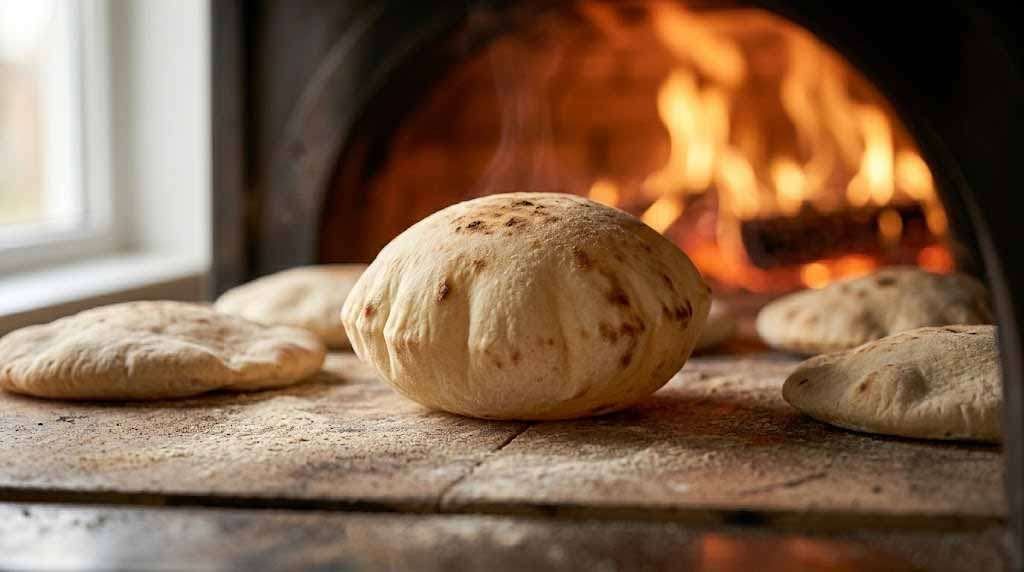
While we are used to cooling elements on a slate counter, for the puff, we are overpowered by warm, orange glow and intense heat. This stage, and all subsequent stages, utilize the same natural light established in our ingredient shot, which now catches the fragrant steam.
We have moved into a professional brick oven. We need you to observe: a single, perfectly formed, fully puffed pita is dramatically centered on the hot baking stone. It resembles a golden air balloon, illustrating the explosive leavening process. The surface shows light browning and specific char marks. This extreme environment is the core difference.
Instructions (Stage 2):
- Rise and Divide: Let the kneaded dough (from our detailed example) rest for 1 ½ hours until doubled. Punch it down, then divide it into 6-8 equal portions. Roll each piece into a neat ball and let rest on the clean slate counter (from our raw components) for 10 minutes.
- Roll Discs: Lightly flour your work surface (using the fine unbleached flour from our raw materials). Roll each ball into a neat 6-inch (15cm) disc.
- Baking (The Puff): Preheat your oven and baking stone completely at 500°F (260°C). Slide 2-3 discs directly onto the hot baking stone. (Check for that specific matte finish). Bake for exactly 3-4 minutes. Watch the single, perfectly formed, fully puffed pita bread (above)—its explosive leavening illustrated here on the baking stone is the core process of the perfect pocket, with golden browning and light charring. (This specific charring adds critical flavor).
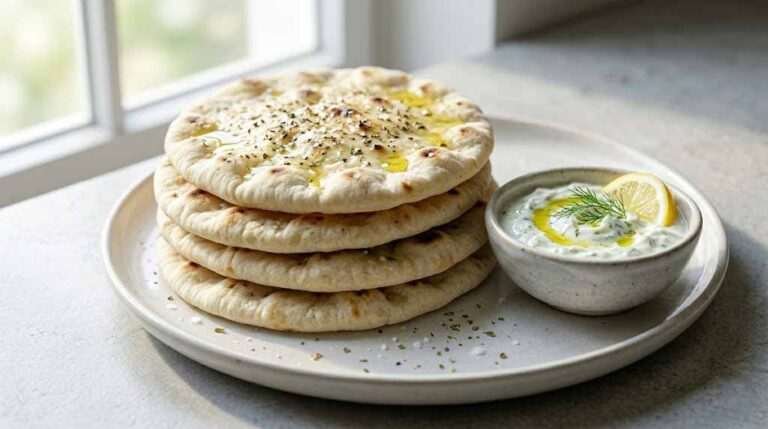
Stage 3: The Flawless Pocket (Final Stack)
With all the components complete, the pitas must cool slightly before serving. The result is unparalleled: pillowy softness, rich with golden olive oil (seen raw in our ingredients), and a flawless interior pocket that holds everything.
We show the stacked pitas for ultimate visual presentation. They rest on that familiar textured grey slate serving platter (similar to our ingredient setup) and are lightly dusted with fine flour. Natural light from the left emphasizes the matte texture.
Observe the perfect structure: a flawless, steamy interior pocket, demonstrating the exact texture resulting from the dramatic, explosive leavening seen during the baking stage. realistic shadows ground the platter, and small droplets of the golden olive oil (from our original ingredient setup) are visibly applied with a fresh rosemary sprig.