Some links in this post are Amazon affiliate links. As an Amazon Associate, Heritage Diner earns from qualifying purchases at no extra cost to you.
More people hurt themselves with dull knives than sharp ones. A dull blade needs pressure, pressure makes it skid, and skidding is how fingertips get cut. A sharp edge slides through the onion with hardly any push.
Whetstone sharpening has a reputation for being fussy. It is really just a repeated motion, done at a steady angle, with a way to check your work. After two or three sessions your hands know what to do.
Honing is not sharpening
The steel rod that came in your knife block does not sharpen anything. It realigns an edge that has bent over slightly with use. Honing before cooking keeps a good edge keen for longer. Sharpening, by contrast, removes metal to create a new edge once the old one has worn away.
If your honed knife still struggles with a ripe tomato, it is time for the stone.
Choose your stones. A stone is rated by grit. A lower number means coarser, with more aggressive cutting. A medium stone, in the 1000 range, handles most home sharpening. A finer stone, between 3000 and 6000, refines the edge and polishes away the scratches left by the coarser one. If a knife is chipped or very dull, a coarse stone in the 200 to 400 range reshapes it first.
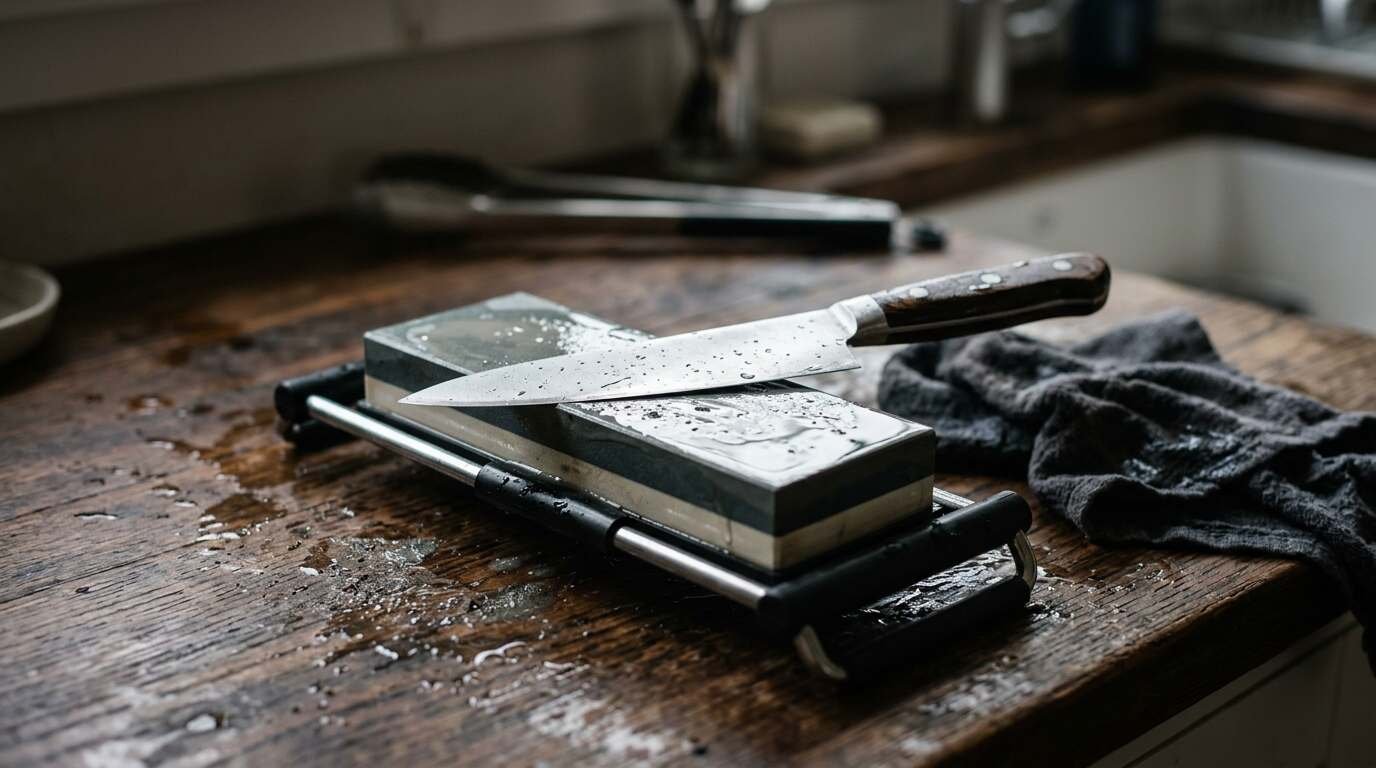
A combination whetstone with two grits is a sensible place to start, and a non-slip base is essential. Add a flattening stone later, because stones wear into hollows with use.
Check the maker’s instructions. Some stones need soaking for ten minutes or so before use, while others are splash-and-go. Soaking a stone that should not be soaked can damage it.
What a dull knife really costs you
A dull edge does not merely cut poorly. It crushes. When you press down on a tomato with a tired blade, the skin tears and the juice runs out instead of staying in the fruit. An onion gets bruised and bitter. Herbs turn black at the cut where the cell walls are smashed.
There is a practical side as well. A sharp knife is faster, so prep takes less time, and it is more accurate, since it follows your hand. A dull one wanders off the line and sometimes jumps. If you cook most nights, the improvement is noticeable in the first week.
How often to sharpen depends on use. A home cook who uses a knife several times a week and hones it regularly might need the stone a couple of times a year. A professional on a line may do it far more often. The test is simple: when the knife needs a push to get through a tomato, it is due.
Set up a stable station
Place a damp towel on the counter and set the stone, or its holder, on top so it cannot slide. Keep a bowl of water or a spray bottle close by to keep the surface wet. Have a second towel for wiping the blade.
Work in good light, with your sleeves rolled up. Slow down. This is not a task to rush with a phone call in the middle.
Find the angle. Western chef’s knives are commonly sharpened to roughly 20 degrees on each side. Many Japanese-style knives use a narrower angle, around 15 degrees. Check what the maker recommends, and if you do not know, 20 degrees is a safe default for a Western blade.
Twenty degrees is smaller than it sounds. Hold the knife flat on the stone, then lift the spine until it is about the height of two stacked coins. That is a rough approximation, and it gets you in the neighborhood. A cheap sharpening angle guide clipped to the spine helps you keep it constant while you learn.
The stroke
Start at the heel of the blade, nearest the handle, with the edge facing away from you. Press lightly with two or three fingers of your free hand near the edge, and push the blade forward and across the stone, so the whole edge from heel to tip passes over the surface. Keep the angle steady.
Work one side until you raise a burr. A burr is a tiny curl of metal along the opposite edge, and you can feel it by running your thumb gently across the edge, away from the blade, never along it. When it runs the full length of the blade, flip the knife and sharpen the other side the same number of strokes.
Then alternate with progressively lighter strokes, finishing with a few feather-light passes on each side. Repeat on the finer stone, using less pressure. Rinse the blade between stones.
A word on pressure and speed
Beginners almost always press too hard. Heavy pressure scores the stone, wears it unevenly and can roll the delicate edge you are trying to create. Light pressure, just enough to keep contact, produces a finer result and takes no longer.
Speed is the opposite problem: people rush. A slow, even stroke gives you feedback. You will feel the steel bite into the stone when the angle is right, and skate when it is off. Listen as well, because a steady scratching sound means the edge is making contact all the way along.
Count your strokes on the first side and match them on the other. It keeps the edge centered and gives you something to repeat next time.
Test the edge. A sharp knife slices a sheet of paper held in the air with a clean, quiet cut. A tomato should yield to the weight of the blade alone. Look at the edge under bright light; a dull spot reflects light as a thin white line, while a sharp edge disappears.
If it will not cut, do not despair. Repeat on the medium stone until the burr forms along the entire edge, then refine again.
Where to store a sharpened knife
A fresh edge deserves a safe home. A magnetic strip on the wall, a wooden block with slots, or a blade guard in a drawer all keep the edge from knocking against other metal. Loose in a drawer is the worst option, for the knife and for the hand that reaches in.
A magnetic knife strip keeps the blades visible and accessible. Place knives gently, spine first, and take them down the same way. And when you wash a knife, wash it alone, carefully, with the edge pointed away from your palm.
Cutting boards matter, too. Wood and plastic are easy on the edge. Glass, stone and ceramic boards dull a knife quickly and should be avoided for anything but serving.
Strop and clean up. A leather strop removes the last trace of burr. Draw the blade along it, spine first, with the edge trailing, a dozen times on each side. A piece of cardboard works in a pinch. Wash the knife by hand with warm soapy water, dry it at once, and store it where the edge will not bang against other metal.
Rinse the stone, let it dry fully, and flatten it when it begins to dish. Keep stones out of freezing temperatures.
Common mistakes.
- Changing the angle midstroke, which rounds the edge.
- Using too much pressure, which can tear up the stone and the blade.
- Skipping the burr, so one side never fully sharpens.
- Sharpening serrated blades on a flat stone. Serrated knives need a special tool.
- Putting the knife in the dishwasher, which dulls it.
Keep the knife away from your body and the edge facing away. Cut-resistant gloves are a reasonable precaution while you learn. If you do not trust yourself on an expensive knife, practice on an inexpensive one first.